Washing painted walls is a household chore that often gets overlooked. It’s time-consuming, and many people are unsure how to do it correctly. Over time, dirt, dust, and stains accumulate on walls, diminishing the overall appearance of a space. Proper wall washing enhances the look of your home and extends the paint’s lifespan. If you’ve ever wondered how professional cleaners achieve spotless walls, this guide will walk you through the process step-by-step, providing expert tips and techniques.
Why You Should Wash Painted Walls
Walls are among the most exposed surfaces in a home. They endure everything from airborne dust to direct contact with hands, pets, and furniture. Washing your walls regularly prevents the build-up of dirt and grime, keeps allergens at bay, and enhances the aesthetic appeal of your space. Neglecting this task can result in dull-looking walls and more frequent repainting.

Benefits of Washing Walls:
- Enhances Appearance: Restores the vibrancy of painted walls.
- Improves Air Quality: Reduces dust and allergens in the home.
- Prevents Permanent Stains: Removes grime before it becomes embedded.
- Increases Longevity of Paint: Keeps paint looking new for longer.
How Often Should Walls Be Washed?
The frequency of wall washing depends on several factors, such as the location of your home, the presence of pets or children, and your lifestyle.
General Guidelines:
- Once or Twice a Year: For most households, this frequency is sufficient.
- Every 2-4 Months: For homes in high-pollution areas or with allergy-prone occupants.
- Monthly: For spaces exposed to cigarette smoke, kitchen grease, or pet activity.
Key Factors to Consider:
- Allergies: Clean walls more frequently if household members suffer from allergies.
- Location: Urban environments are prone to pollution, so walls may need more frequent cleaning.
- Household Activity: Homes with pets, children, or smokers require more regular wall maintenance.
- Wall Type: Flat paint requires more care, while semi-gloss and gloss finishes are easier to clean.
Tools and Supplies You’ll Need
You need the right tools to clean walls like a pro. Stocking up on the essentials ensures a more efficient cleaning process.
Essential Cleaning Supplies:
- Microfiber Duster (for dust removal)
- Microfiber Towels (for spot cleaning and drying)
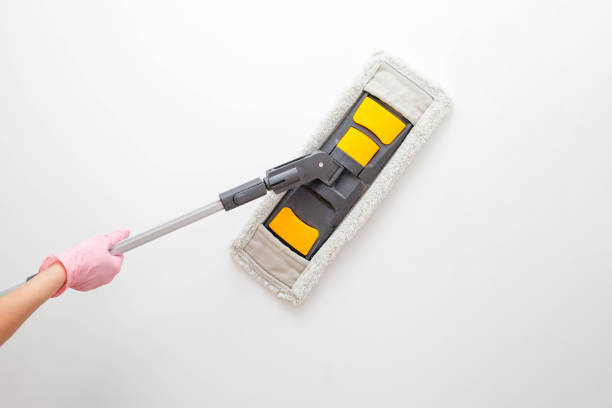
- Microfiber Wall Wash Mop (for large surface areas)
- Multi-Surface Cleaning Solution (non-abrasive cleaner)
- Magic Eraser Sponge (for stubborn marks)
- Spray Bottle (for misting cleaning solution)
- Protective Gear (rubber gloves and face mask, if necessary)
Pro Tip: Use a microfiber wall mop with an extendable handle to reach high areas without a ladder. This minimizes physical strain and makes the task quicker.
Preparing to Wash Walls
Preparation is the key to success when washing walls. You’re more likely to create a mess or miss spots without proper prep work.
1. Remove Furniture and Decorations: Move furniture away from the walls and remove wall hangings, photos, and curtains.
2. Protect the Floor: Lay down a drop cloth or old towels to catch drips.
3. Dust the Walls: Use a microfiber duster to remove cobwebs and loose dirt from top to bottom.
4. Identify Problem Areas: Look for stains, marks, and high-traffic areas that need extra attention.
Step-by-Step Guide to Washing Walls Like a Pro
Step 1: Dust the Walls
- Use a microfiber duster with an extension handle to reach ceiling corners.
- Dust from top to bottom in vertical strokes.
- Ensure the baseboards are also dust-free.
Step 2: Remove Stains and Marks
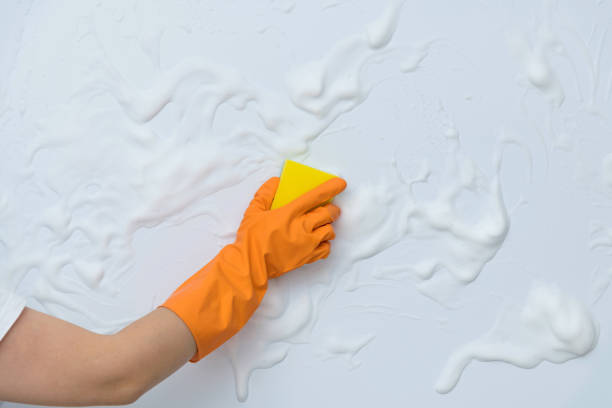
- Use a Magic Eraser to tackle scuff marks, handprints, and smudges.
- Gently rub the marks in a circular motion until they disappear.
- For stubborn stains, let the cleaning solution sit for a minute before scrubbing.
Step 3: Prepare Your Cleaning Solution
- Dilute one tablespoon of multi-surface cleaning solution in one quart of water.
- Pour the solution into a spray bottle and set it to mist, not stream.
Step 4: Mop the Walls
- Attach the microfiber mop head to the handle.
- Lightly spray a wall section (about 6 feet wide) from top to bottom.
- Mop the wall using vertical strokes and apply light pressure.
- For tough spots, allow the cleaning solution to sit for a few minutes before scrubbing.
Step 5: Final Inspection
- Look for missed spots, stains, or streaks.
- Spot-clean with a microfiber towel if needed.
Step 6: Clean-Up
- Remove and wash all microfiber cloths, mop pads, and duster covers.
- Allow them to air dry or use a low-heat dryer setting.
Common Mistakes to Avoid
1. Using Too Much Water: Excess water can seep into drywall, causing bubbles and mould. Use a damp (not wet) mop and minimal spray.
2. Scrubbing Too Hard: Aggressive scrubbing damages flat paint and can remove the finish. Use gentle, consistent pressure.
3. Skipping Dusting: Dusting before washing prevents muddy smears.
4. Cleaning Too Large an Area at Once: Break down large walls into 6-foot sections to avoid streaking and allow for proper drying.
5. Using Harsh Cleaners: Abrasive cleaners can strip paint or leave streaks. Stick to mild, multi-surface cleaning solutions.
Expert Tips for Best Results
- Work Top to Bottom: Gravity causes drips, so starting from the top prevents re-cleaning.
- Use Minimal Water: Excess moisture damages paint and drywall.
- Focus on High-Traffic Areas: Kitchens, hallways, and playrooms require more frequent cleaning.
- Spot Clean Regularly: Tackle stains as they occur to avoid deep cleaning sessions.
How to Wash Walls with Different Paint Finishes
Flat or Matte Finish: Clean with caution. Use minimal moisture and a gentle cleaning solution to avoid streaks.
Eggshell or Satin Finish: These finishes are more durable. Use a microfiber mop and multi-surface cleaner.
Semi-Gloss or Gloss Finish: Easiest to clean. You can use mild soap and water for a shiny finish.
When to Call in Professionals
While DIY wall cleaning is achievable, there are times when professional help may be necessary.
- Severe Stains: Smoke or water damage requires professional cleaning.
- Large Homes: Hiring a cleaning service may be worthwhile for homes with multiple rooms and high ceilings.
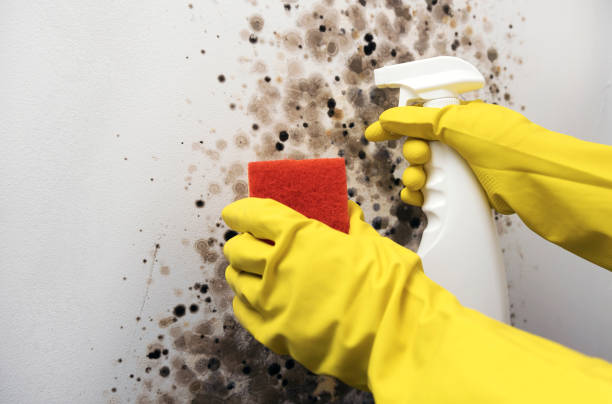
- Health Concerns: If there’s a mould infestation, it’s best to call in a specialist.

Final Thoughts
Cleaning your painted walls doesn’t have to be a dreaded chore. You can achieve pro-level results with the right tools, techniques, and a little patience. Stick to a regular cleaning schedule, use minimal moisture, and avoid harsh chemicals to protect your walls and maintain a clean, healthy home.
Remember, a clean wall isn’t just about appearances—it’s about preserving your home’s value and ensuring a healthier living space for your family. Take it one wall at a time; before you know it, your home will look as good as new.

