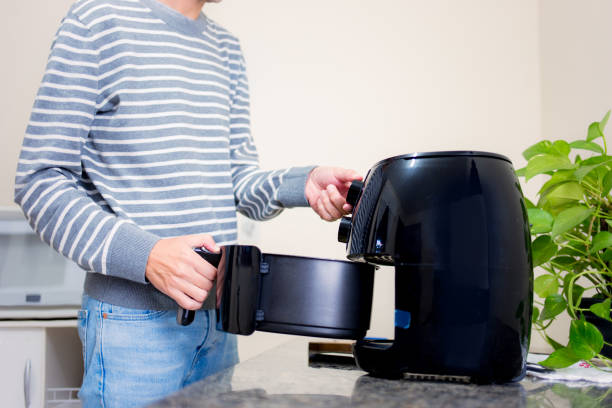
Air fryers have revolutionized modern cooking, offering a healthier alternative to deep frying while delivering the same crispy results. Their convenience and versatility make them a favourite in many households, but regular maintenance is essential to ensure they perform optimally like any appliance.
Cleaning your air fryer may seem daunting, but with the right techniques and tools, it’s a straightforward task that will prolong its lifespan and keep your food tasting fresh. Let’s delve deeper into each cleaning step and understand why it’s crucial.

Step 1: Unplug and Cool Your Air Fryer
The first rule of cleaning any electrical appliance is safety. Always unplug your air fryer before cleaning to avoid accidental electrical shocks. Additionally, give the appliance sufficient time to cool down completely if you’ve just finished cooking. Handling a hot air fryer can result in burns and can make cleaning more difficult as grease and crumbs may still be actively clinging to heated surfaces.
Why It Matters: Allowing the air fryer to cool ensures you’re not working with dangerously hot components. Furthermore, cooled grease and crumbs are often easier to scrape or wipe off without smearing.
Pro Tip: While waiting for your air fryer to cool, gather all the necessary cleaning materials, such as warm water, dish soap, a soft sponge, and a microfiber cloth. This will save you time and keep the process efficient.
Step 2: Clean the Air Fryer Basket and Parts in the Sink
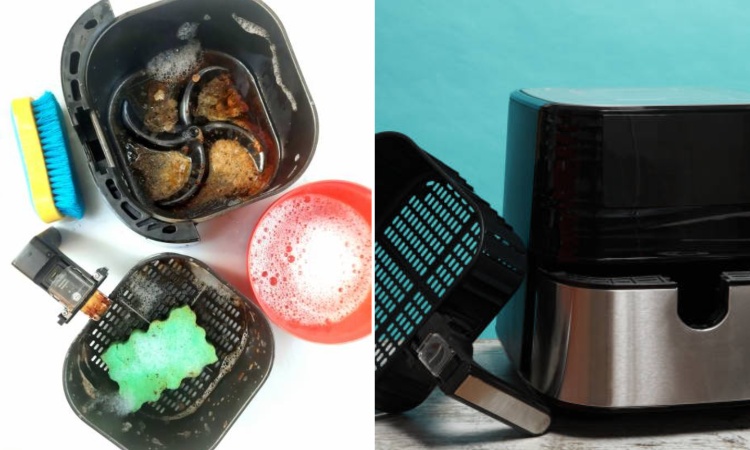
The basket, tray, and pan are the workhorses of your air fryer, collecting crumbs, grease, and residues from cooking. Remove these detachable parts and soak them in warm, soapy water. Use a non-abrasive sponge or soft-bristled brush to remove food particles and grease. Most manufacturers also make dishwasher-safe parts but double-check the manual for confirmation.
Why It Matters: Thoroughly cleaning the basket and tray prevents the buildup of grease, which can lead to unpleasant smells, smoke during cooking, or even a fire hazard. Consistent cleaning keeps your food fresh and prevents lingering residues from affecting the flavour.
Pro Tip: For stubborn, baked-on food, soak the parts in hot water and a few drops of dish soap for 15-20 minutes. This loosens the residue and makes scrubbing easier. Add a tablespoon of baking soda to the soak for an extra cleaning boost.
Step 3: Clean the Exterior of the Air Fryer
The exterior of your air fryer may not get as dirty as the interior, but it’s still prone to splatters, fingerprints, and dust. Wipe down the outer surface with a damp microfiber cloth. For areas with grease or stains, use a mild dish soap solution. Avoid abrasive materials or strong chemicals that could harm the surface finish.
Why It Matters: A clean exterior keeps your air fryer looking pristine and prevents grease buildup that can transfer to your hands and other surfaces. Regular cleaning also maintains the appliance’s aesthetic appeal, which is especially important if kept on your countertop.
Pro Tip: Don’t forget to clean the control panel and buttons. Use a slightly damp cloth or a soft-bristled brush to remove dirt and grease accumulating in crevices.
Step 4: Wipe the Heating Element
The heating element is critical to your air fryer, generating the heat that cooks your food. Over time, it can accumulate grease and splashes from cooking. Use a damp cloth or sponge to wipe the heating element gently. If necessary, a soft-bristled brush can help remove baked-on debris.
Why It Matters: A clean heating element ensures consistent performance and prevents burning smells or smoke while cooking. Ignoring this step can lead to uneven cooking and may even damage the element over time.
Pro Tip: Check your air fryer manual for specific instructions before cleaning the heating element. Some models may require extra care to avoid damaging sensitive components.
Step 5: Reassemble the Air Fryer
Once all parts are clean and completely dry, reassemble your air fryer. Ensure the basket, tray, and pan are properly aligned and securely in place. Store the appliance upright and unplug it when not in use.
Why It Matters: Reassembling your air fryer correctly ensures it functions as intended during your next cooking session. Storing it unplugged and upright protects it from damage and keeps it ready for use.
Pro Tip: If you use your air fryer frequently, consider dedicating a spot in your kitchen. This will make it easy to access and encourage consistent cleaning and maintenance.
How to Remove Baked-On Food and Grease
Food particles and grease can sometimes stubbornly cling to your air fryer components. Here’s how to tackle these tough messes:
- Soak and Scrub: Soak the affected parts in hot, soapy water for at least 20 minutes. Use a soft-bristled brush or non-abrasive sponge to scrub away the residue.
- Baking Soda Paste: Create a paste using baking soda and water for particularly stubborn grease. Apply it to the affected areas and let it sit for 15 minutes before scrubbing.
- Vinegar Solution: A white vinegar and water mixture can help dissolve grease and remove odours. Apply it with a cloth or sponge and rinse thoroughly.
Why It Matters: Removing baked-on food and grease prevents unpleasant smells, smoke, and the transfer of burnt flavours to your food. It also keeps your air fryer hygienic and safe to use.
Pro Tip: Avoid using steel wool or abrasive cleaners that can scratch or damage the non-stick coating on your air fryer components.

Additional Tips for Air Fryer Maintenance
- Clean After Every Use: Regular cleaning prevents the buildup of grease and food particles, making each subsequent cleaning session quicker and easier.
- Use Parchment Paper or Liners: Air fryer-specific liners or parchment paper can minimize messes and reduce the need for heavy cleaning. Just ensure the paper doesn’t block the airflow.
- Inspect for Damage: Regularly check the non-stick coating on the basket and tray. If you notice scratches or peeling, consider replacing the parts to avoid contamination.
- Store Properly: Always store your air fryer in a cool, dry place. Avoid stacking heavy items on top of it, as this can damage the appliance.
- Refer to the Manual: Every air fryer model is different. It’s important to adhere to the manufacturer’s cleaning and maintenance guidelines.
Conclusion
Regular maintenance of your air fryer is key to keeping it a dependable and efficient kitchen tool. Following these detailed cleaning steps and tips, you can keep your air fryer in top condition, prevent unpleasant odours, and enjoy perfectly cooked meals every time. Keeping your appliance in top condition prolongs its life and transforms your cooking experience, letting you experience the full range of benefits it offers.

