
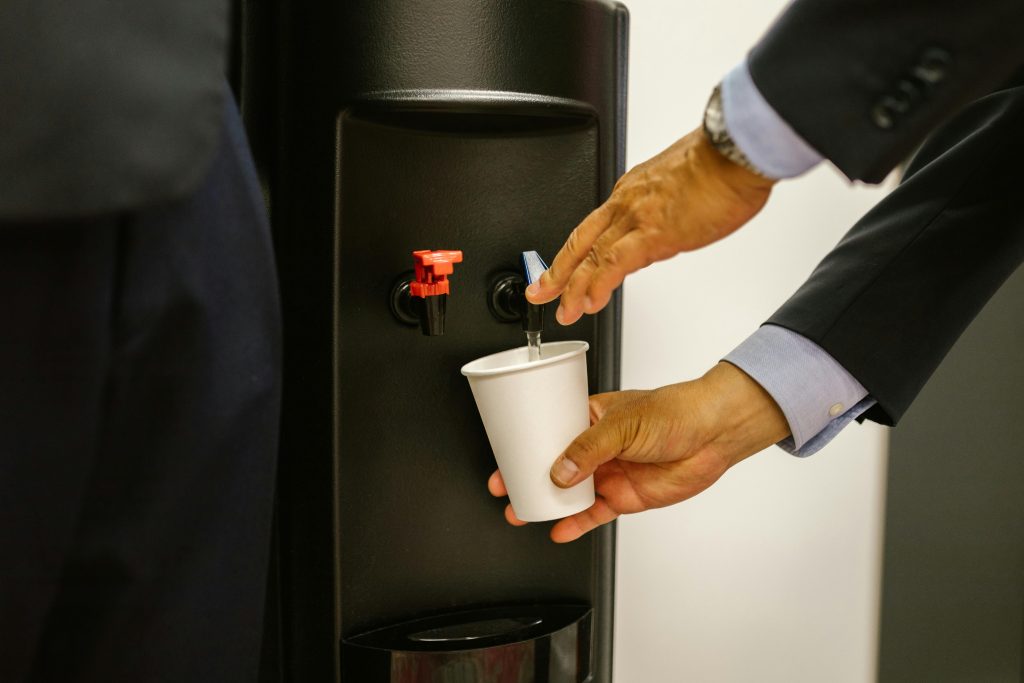
Water coolers and dispensers are must-haves in homes, offices, and gyms. They provide convenient access to cold or hot water throughout the day. However, many forget these machines need regular cleaning to stay safe, healthy, and fully functional. Neglecting maintenance can lead to bacterial buildup, bad tastes, and even illnesses.
In this powerful guide, you’ll discover a detailed 10-step method for cleaning and maintaining your water cooler and dispenser so that your water remains pure, your equipment lasts longer, and you can sip with confidence.
Step 1: Understand Why Regular Cleaning Matters
Water coolers can accumulate:
- Mineral deposits
- Algae
- Mold
- Bacteria (like E. coli and Legionella)
Dirty dispensers can affect water taste, odor, and safety.
Recommended Cleaning Frequency:
- Every 6 weeks for home units
- Monthly for heavily used office coolers
- Immediately if you notice slime, foul smells, or unusual tastes
Step 2: Gather Your Supplies
You will need:
- White vinegar or unscented bleach
- Warm water
- Dish soap
- Sponge or soft cloth
- Clean towels
- Bucket
- Long-handled scrub brush
- Rubber gloves
Optional:
- Bottle brush (for narrow dispenser taps)
- Sanitizing wipes
Step 3: Turn Off and Unplug the Machine
Safety first!
- Unplug the cooler or dispenser
- Turn off the water supply (if connected to plumbing)
- Remove the water bottle if it’s a bottled model
Let the unit sit for 5–10 minutes before handling.
Step 4: Drain and Disassemble Parts
Empty all remaining water from the reservoir:
- Drain cold and hot water taps completely
- Remove the drip tray, nozzle covers, and any detachable parts
- Set them aside for separate cleaning
Tip:
Keep small parts in a bowl to avoid losing them.
Step 5: Clean Removable Parts
Wash the drip tray, nozzles, and other detachable pieces:
- Soak in warm, soapy water
- Scrub with a sponge or brush
- Rinse thoroughly
- Air dry completely
Disinfect with a vinegar solution or mild bleach mix (1 tbsp bleach per gallon of water).
Step 6: Clean the Reservoir and Internal Surfaces
Mix a cleaning solution:
- Option 1: 1 part white vinegar to 3 parts warm water
- Option 2: 1 tbsp unscented bleach to 1 gallon of water
Pour the solution into the reservoir:
- Let sit for 5–10 minutes
- Scrub the interior with a clean sponge or brush
- Be sure to clean around tap openings
Drain through the taps to disinfect the spouts.
Step 7: Rinse Thoroughly
After cleaning, rinse the cooler multiple times:
- Fill the reservoir with fresh water
- Drain through both taps
- Repeat at least 2–3 times to remove any cleaner residue
Important:
No lingering bleach or vinegar taste should remain.
Step 8: Sanitize the Exterior
Wipe down the outside of the cooler:
- Use sanitizing wipes or a cloth dipped in vinegar solution
- Pay special attention to buttons, handles, and drip tray areas
This step is crucial for high-touch points that collect germs daily.
Step 9: Reassemble and Restart
Once everything is fully dry:
- Reattach all parts
- Replace the water bottle (or reconnect plumbing)
- Plug in and turn on the cooler
- Let the cooler chill or heat water for about 30 minutes before use
Step 10: Maintain Regular Cleaning Habits
Stay consistent to keep your water cooler fresh:
Weekly:
- Wipe the exterior
- Clean drip trays
Monthly:
- Deep clean the reservoir
- Soak nozzles
Every 3–6 months:
- Full internal cleaning
- Replace filters if your cooler has one
Bonus Section: Special Cases
If You Have a Self-Cleaning Cooler:
- Follow the manufacturer’s self-cleaning cycle
- Still clean the exterior and drip tray manually
For Bottom-Loading Coolers:
- Sanitize the bottle connector thoroughly
- Watch for mold around hose connections
For Point-of-Use (Plumbed) Units:
- Shut off the water line during cleaning
- Flush the system properly before resuming use
Common Mistakes to Avoid
- Skipping regular cleaning: Even filtered water leaves mineral buildup.
- Using strong-scented cleaners: They can alter taste and may be unsafe.
- Neglecting small parts: Taps and nozzles hide bacteria.
- Rushing rinsing steps: Leftover bleach can cause health issues.
Top Products for Water Cooler Cleaning
- Essential Values Water Dispenser Cleaner
- Clorox Healthcare Bleach Germicidal Cleaner
- Simple Green Industrial Cleaner (for exteriors)
- Water cooler cleaning kits (available online)
Frequently Asked Questions (FAQs)
How often should I clean my water cooler?
- Every 6 weeks for home use, monthly for heavy-use areas
Can I use lemon juice instead of vinegar?
- Yes, lemon juice is a natural alternative with a fresh scent
How do I remove hard water stains?
- Use vinegar or a descaling solution specifically designed for appliances
Is bleach safe for water coolers?
- Yes, if properly diluted and thoroughly rinsed afterward
Conclusion: Clean Water, Healthy Life
A clean water cooler or dispenser isn’t just about taste—it’s about health, safety, and longevity. Regular Dispenser Cleaning prevents the spread of bacteria, maintains the taste of your drinking water, and extends the life of your equipment.
Stick to a smart schedule, use the right tools, and prioritize your cooler’s hygiene. With a few simple habits, you’ll ensure that every glass of water you pour is pure, refreshing, and safe.